Deploy Your Agent
Deploy your AI agent across web, messaging, and productivity channels. Choose from chat widget, help page, Slack, WhatsApp, and more.
The Deploy tab lets you make your agent available across multiple channels. Choose where your users interact with your agent—your website, messaging apps, help pages, or productivity tools.
Enable one or multiple channels based on your needs.
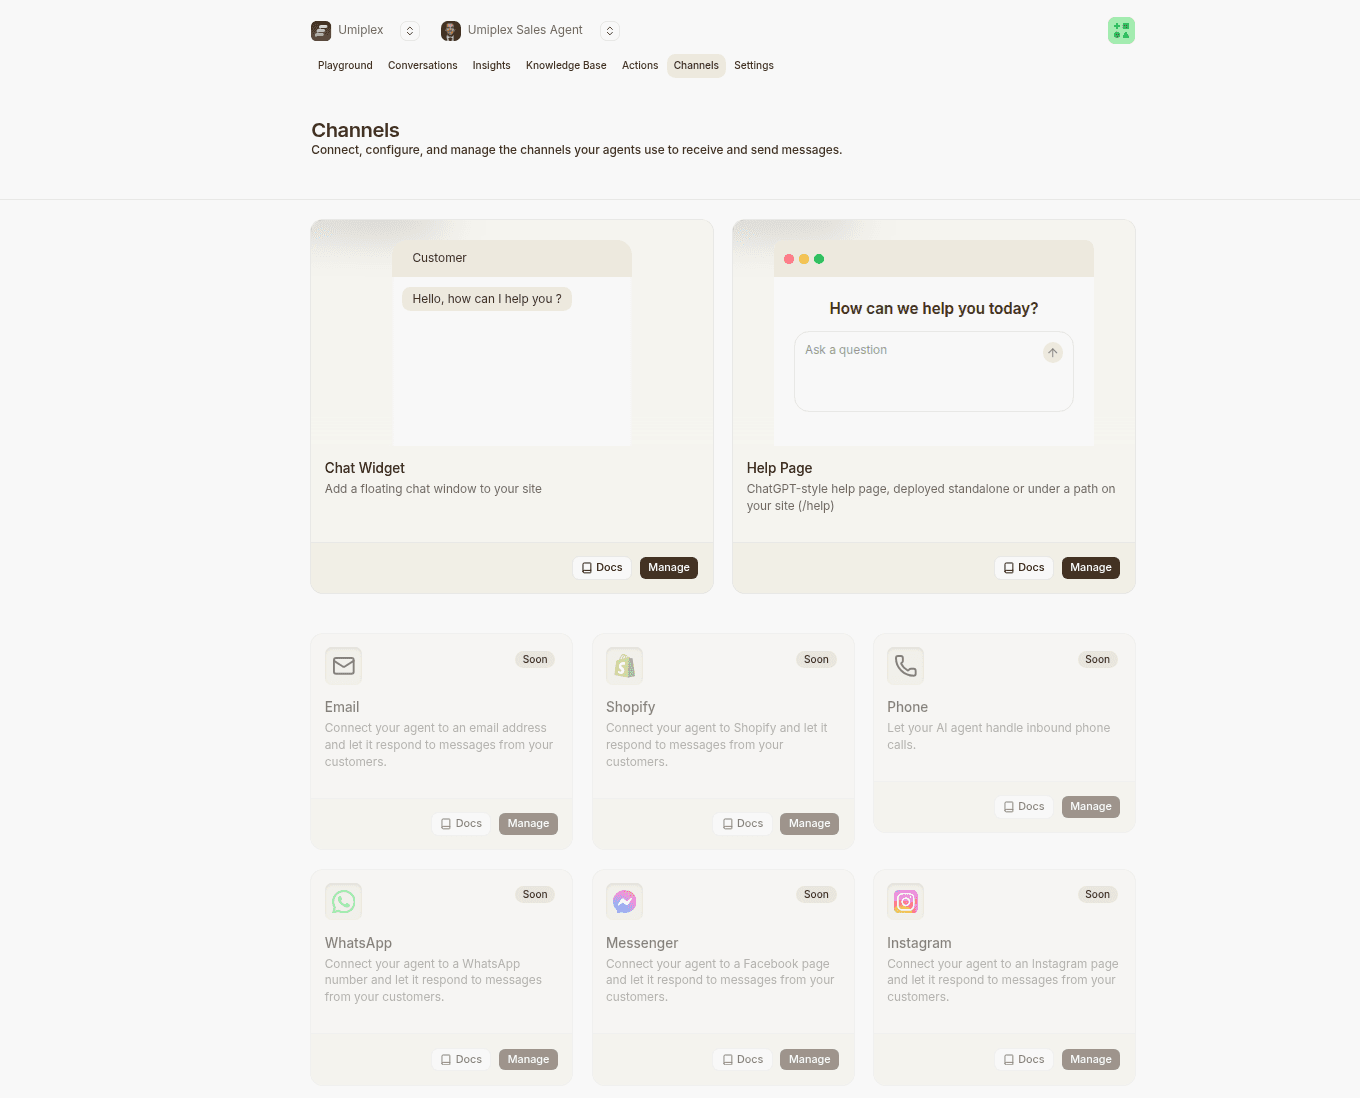
Available Channels
Each channel can be enabled, configured, and customized independently. Use the toggle or Manage button to set up:
- Chat widget — Floating chat on your website
- Help page — Standalone help page hosted on Umiplex
- Slack — Bot inside Slack workspace
- WhatsApp — Respond to WhatsApp messages
- Messenger — Facebook Messenger integration
- Instagram — Direct messages on Instagram
- WordPress — Native WordPress plugin
- Shopify — Shopify store integration
- Zendesk — Support ticket responses
- Salesforce — CRM workflow integration
- Email — Automated email responses
- Phone — Inbound call handling via Twilio
- Zapier — Connect to 5,000+ apps
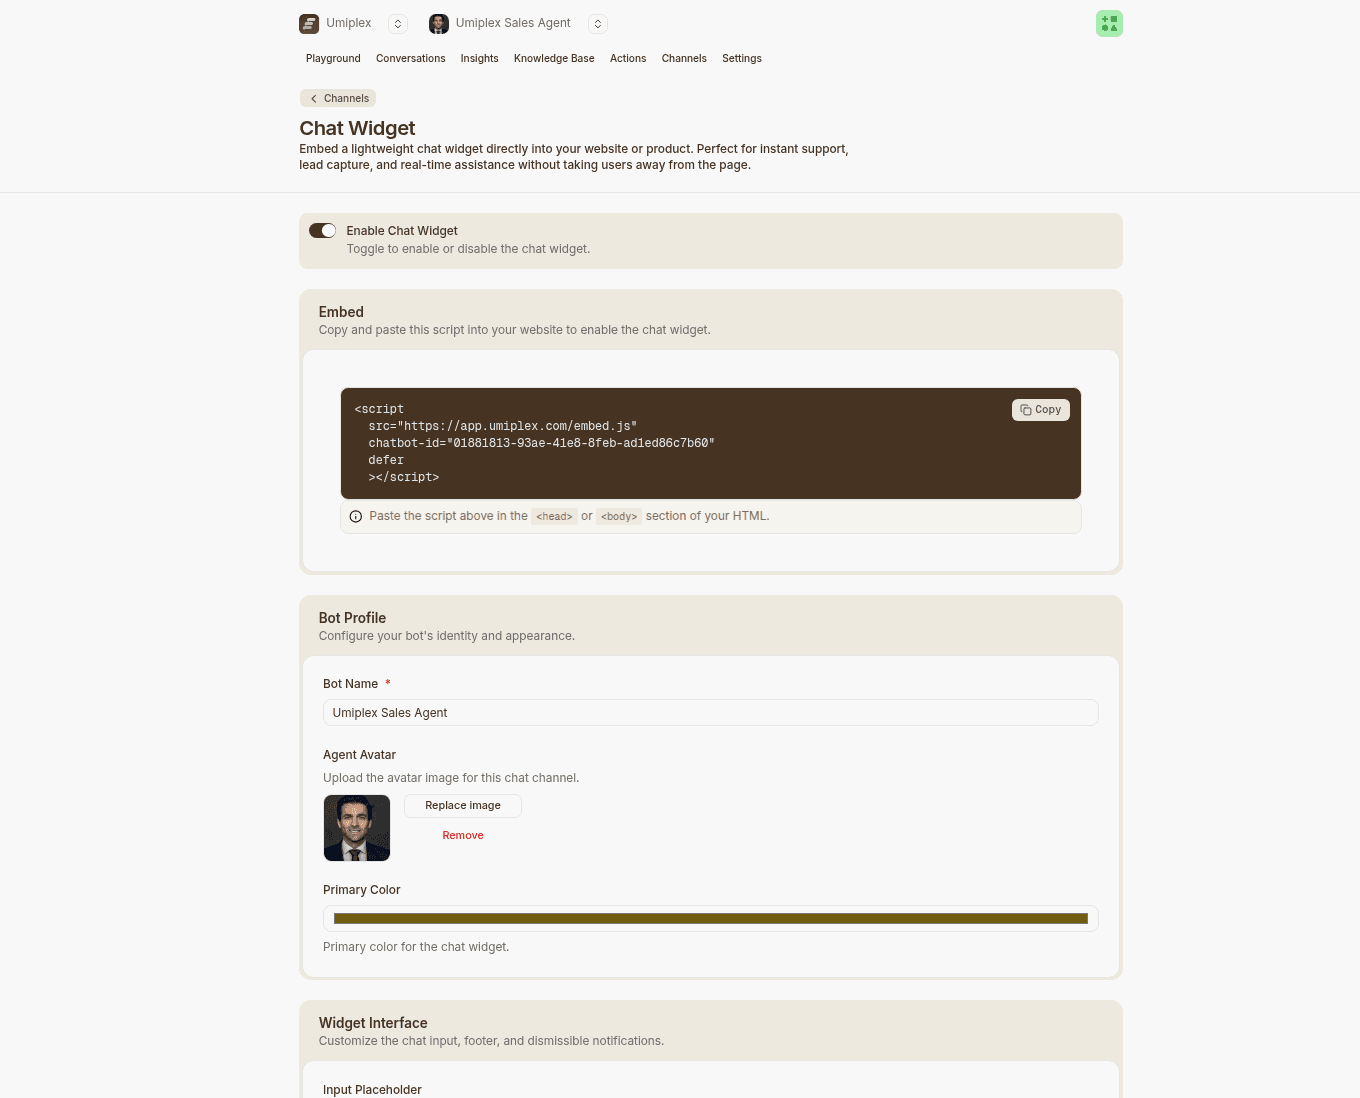
Chat Widget
The Chat widget allows you to embed a floating chat window on your website so visitors can interact with your agent directly.
Enable the Chat Widget
- Go to Deploy → Chat widget
- Toggle Enabled on
Once enabled, you can customize its behavior, appearance, and embed settings.
Styles Settings
Under the Content tab, you can control what users see when the chat starts.
- Display name: The name shown at the top of the chat widget.
- Avatar: The agents profile image
- Pprimary color: Brand main color
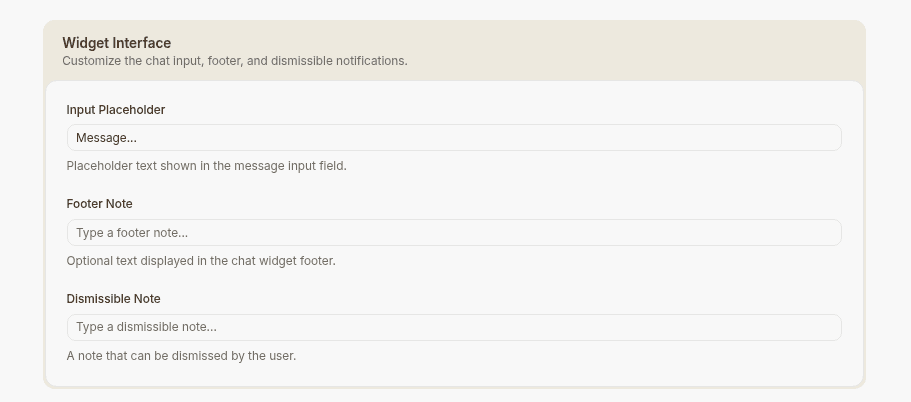
Content Settings
- Footer: Text shown in the button of the chat. You can use this to add a disclaimer or a link to your privacy policy.
- Dismissable notice: A message shown above the text input area that disappears after the user sends a message.
- Message placeholder: The text shown in the field where the users write their questions.
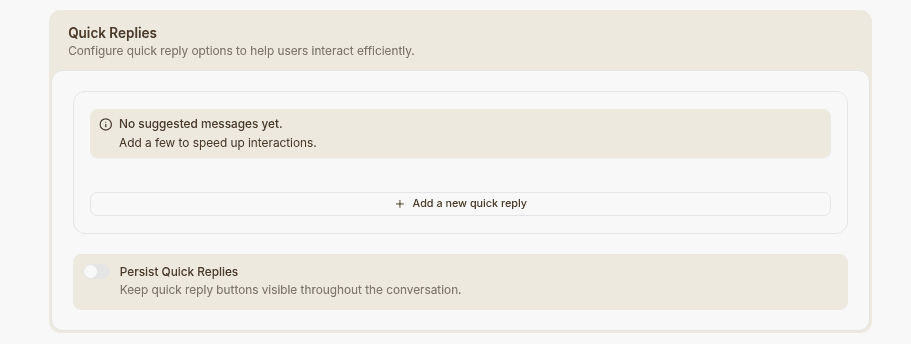
- Suggested messages: Predefined prompts shown when users open the chat to help them start the conversation quickly. These should reflect your most common questions or actions. You can also use the nested option to group related prompts under a main message, allowing users to select a category first and then choose from more specific follow-up options for a more guided experience.
- Initial message: The message shown before the user opens the chat bubble, designed to grab attention and encourage interaction, also shown once the user opens the bubble. You can customize the initial message per user by following this guide
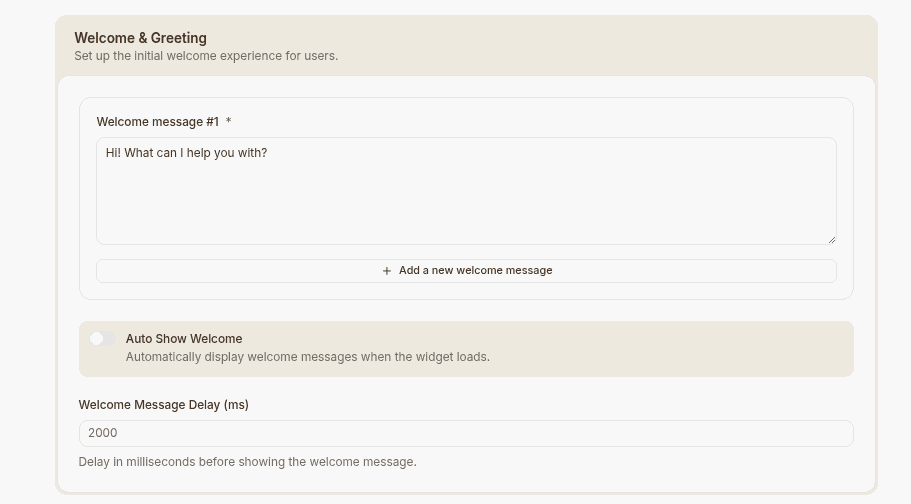
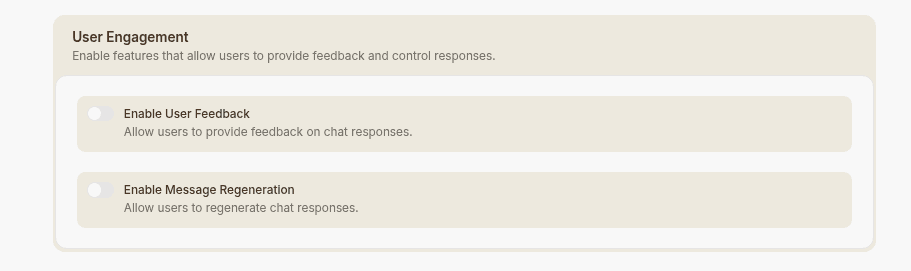
- Collect feedback: When enabled, it allows the user to provide a feedback by displaying a thumbs up or down button on AI agent messages.
- Copy messages: When enabled, a copy button on agent messages is displayed to allow users to copy the response.
If you include links in the footer or a dismissible notice, they must be full
URLs starting with http:// or https://
(e.g., https://www.example.com), not just www.example.com or example.com
Help Page
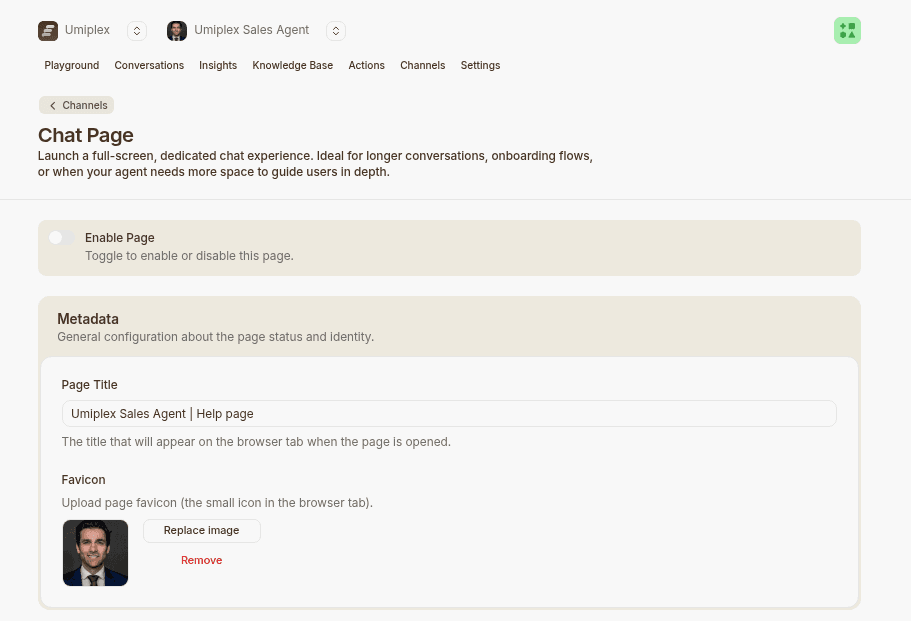
The Help page is a standalone page hosted on Umiplex servers. Perfect for help centers, documentation portals, and customer support resources.
Enable the Help Page
- Go to Deploy → Help page
- Toggle Enabled on
Settings
- Page title: The title shown in the browser tab.
- Favicon: Upload a custom favicon for the help page. Supports JPG, PNG, and SVG files up to 1MB.
- Theme settings: Enable or disable theme switching. Set a default theme for all users. Customize light and dark primary colors.
- Enable voice to text: When enabled, a microphone button is shown in the text input area that converts speech into text for users to review before sending.
- Enable attachments: Enable or disable sending attachments, allowing your agent to process attachments and respond based on their content.
- Logos: Upload a logo for light mode. Upload a separate logo for dark mode.
- Heros: Upload a hero for light mode. Upload a separate logo for dark mode.